Studio Lighting: The Architecture of Aesthetics
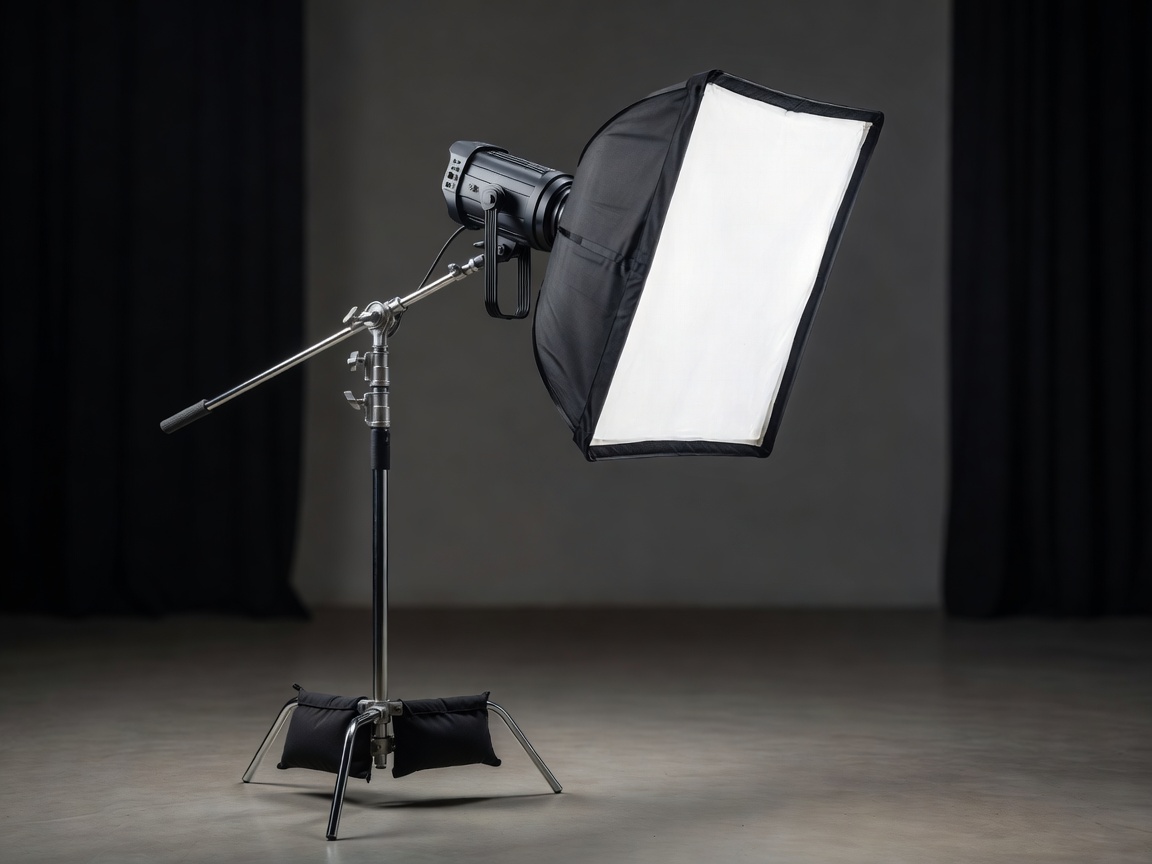
A mediocre camera paired with exceptional lighting will universally outperform an expensive cinema camera shooting in poorly lit conditions. Lighting dictates mood, shapes facial structure, and provides your camera sensor with the photons necessary to minimize electronic noise. This guide breaks down the physical properties of light fixtures and modifiers used in modern creator studios.
Continuous LED Lighting Technology
Unlike flash photography, video production requires continuous lighting. The industry standard has entirely shifted to LED (Light Emitting Diode) technology due to its low heat output, energy efficiency, and compact form factor compared to legacy tungsten or HMI fixtures.
Color Accuracy: CRI and TLCI
Not all white light is equal. Cheap LEDs suffer from color spikes—typically shifting green or magenta—which ruins natural skin tones. When evaluating studio lights, look at two primary metrics:
- CRI (Color Rendering Index): Measures how accurately a light source reveals the true colors of an object compared to a natural light source. Look for a CRI rating of 95 or higher.
- TLCI (Television Lighting Consistency Index): A metric specifically designed for digital camera sensors rather than human eyes. A TLCI of 96+ ensures virtually no color correction is required in post-production.
Daylight, Bi-Color, and RGB
Fixtures generally come in three variants. Daylight-balanced fixtures emit a fixed color temperature, usually around 5600K (simulating midday sun). Because they dedicate all their diodes to one color, they are typically the brightest and most affordable.
Bi-color lights allow you to shift the temperature from warm tungsten (e.g., 2700K) to cool daylight (e.g., 6500K). This is crucial if you are mixing your artificial light with practical room lamps or window light. RGB fixtures add red, green, and blue diodes, allowing you to dial in any color in the spectrum, perfect for background accents and stylized music video aesthetics.
The Function of Modifiers
A bare LED diode emits "hard" light. Hard light creates sharp, distinct shadows, emphasizing skin texture and wrinkles. For flattering, cinematic lighting, creators use modifiers to increase the surface area of the light source, thereby "softening" the shadows.
Common Modifier Types
- Softboxes: Rectangular, square, or octagonal enclosures with an inner silver reflective layer and a front diffusion fabric. They direct soft light forward with moderate spill control.
- Lanterns: Spherical diffusers that cast soft, omnidirectional light in a 360-degree spread. They are excellent for raising the ambient light level of an entire room but are difficult to control.
- Grids (Honeycombs): Fabric grids attached to the front of a softbox. They do not harden the light, but they restrict the beam angle, preventing light from spilling onto the background and ruining the contrast.
The Classic Three-Point Setup
Understanding light placement is as important as the fixture itself. The foundational technique in cinematography is three-point lighting.
| Light Role | Position | Function |
|---|---|---|
| Key Light | 45° offset from camera, angled down | The primary light source. Usually modified heavily to be as soft and flattering as possible. |
| Fill Light | Opposite the Key Light | Fills in the shadows created by the Key. Often set to a much lower intensity (or replaced by a passive reflector) to maintain a contrast ratio. |
| Back / Hair Light | Behind the subject, out of frame | A harder light designed to hit the back of the subject's head and shoulders, physically separating them from the background. |
When engineering your studio, prioritize investing in a high-quality Key Light and a large modifier. A single, large, diffused light source positioned correctly can emulate high-end commercial aesthetics without the need for complex, multi-fixture setups.